Enjoyed this post?
Be sure to subscribe to the nopAccelerate newsletter and get regular updates about awesome posts just like this one and more!
Installing Apache Solr using Docker on a Linux system can significantly streamline your setup process. Whether you’re a developer, a system administrator, or just dabbling in search technologies, using Docker can help you maintain a clean and manageable working environment. This step-by-step guide will walk you through the entire process, from removing existing packages to creating your very own Solr core.
Before we get started, you’ll need a Linux system with internet access and sudo privileges. For the purposes of this guide, we will assume you are using a CentOS-based distribution. And same should also work for RHEL as well as AlmaLinux.
First, it’s good practice to remove any existing installations of Podman that might conflict with Docker:
bash
sudo dnf remove -y podman
Next, install the necessary Docker dependencies:
bash
sudo dnf install -y dnf-plugins-core
Add the Docker repository to your system to ensure you get the latest version:
bash
sudo dnf config-manager –add-
repo=https://download.docker.com/linux/centos/docker-ce.repo
Install Docker by running:
bash
sudo dnf install -y docker-ce docker-ce-cli containerd.io
Once Docker is installed, start the Docker service:
bash
sudo systemctl start docker
Now, pull the Solr image from the Docker repository:
bash
sudo docker pull solr:8.11.0
Before running Solr, create a directory for Solr data and ensure it has the appropriate permissions:
bash
cd ~
mkdir solr-data
chmod -R 755 solr-data
chmod -R 777 ~/solr-data
Run the Solr container with the following command:
bash
sudo docker run -d –name my-solr -p 8983:8983 -v ~/solr-
data:/var/solr/data solr:8.11.0
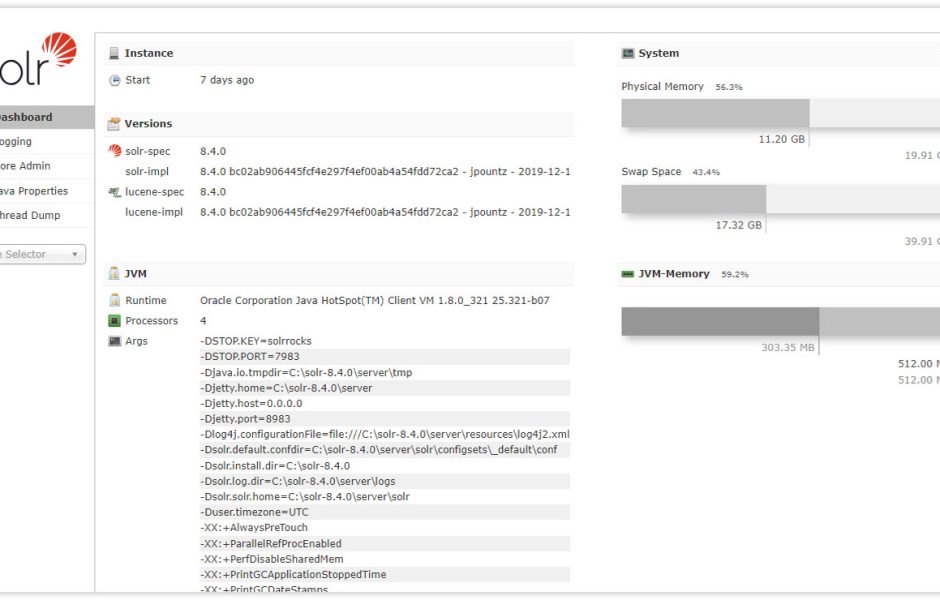
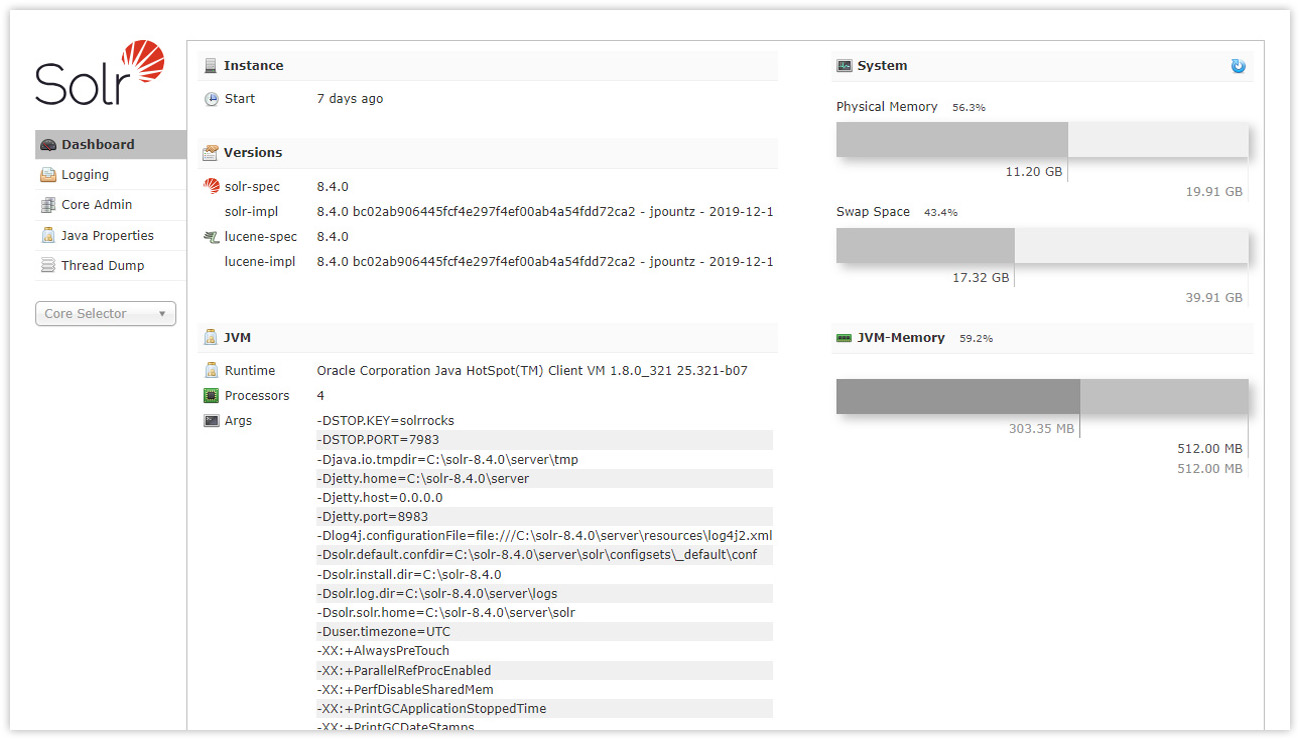
Solr should now be accessible at http://
To create a new Solr core, first find the name or ID of your Solr container:
bash
sudo docker ps
Then, execute the following command to create a core named “my-core”:
bash
sudo docker exec -it my-solr bin/solr create_core -c my-core
And there you have it! Your Solr instance should be up and running on Docker, and you’ve successfully created a new Solr core. This setup not only keeps your environment clean but also makes it easy to manage Solr instances across different projects. Feel free to experiment with different Solr configurations and explore its extensive features to enhance your search capabilities.
By following these steps, you can efficiently manage your Solr instances with Docker, ensuring a scalable and reliable search service architecture. If you have any questions or need further assistance, don’t hesitate to reach out or consult the extensive Docker and Solr documentation available online. Happy searching!
Comments are closed.