nopAccelerate
Configuring Apache Solr to use with nopAccelerate
Configure Apache Solr 4+ to use with nopAccelerate Solr Integration Plugins for Apache Solr Integration with your nopCommerce store.
Applicable to:
- nopAccelerate
- nopSolr Search
- nopSolr Navigation
Basic Solr Configuration
It is very important to configure Solr correctly before you proceed with using nopAccelerate Solr Plugins for your nopCommerce store.
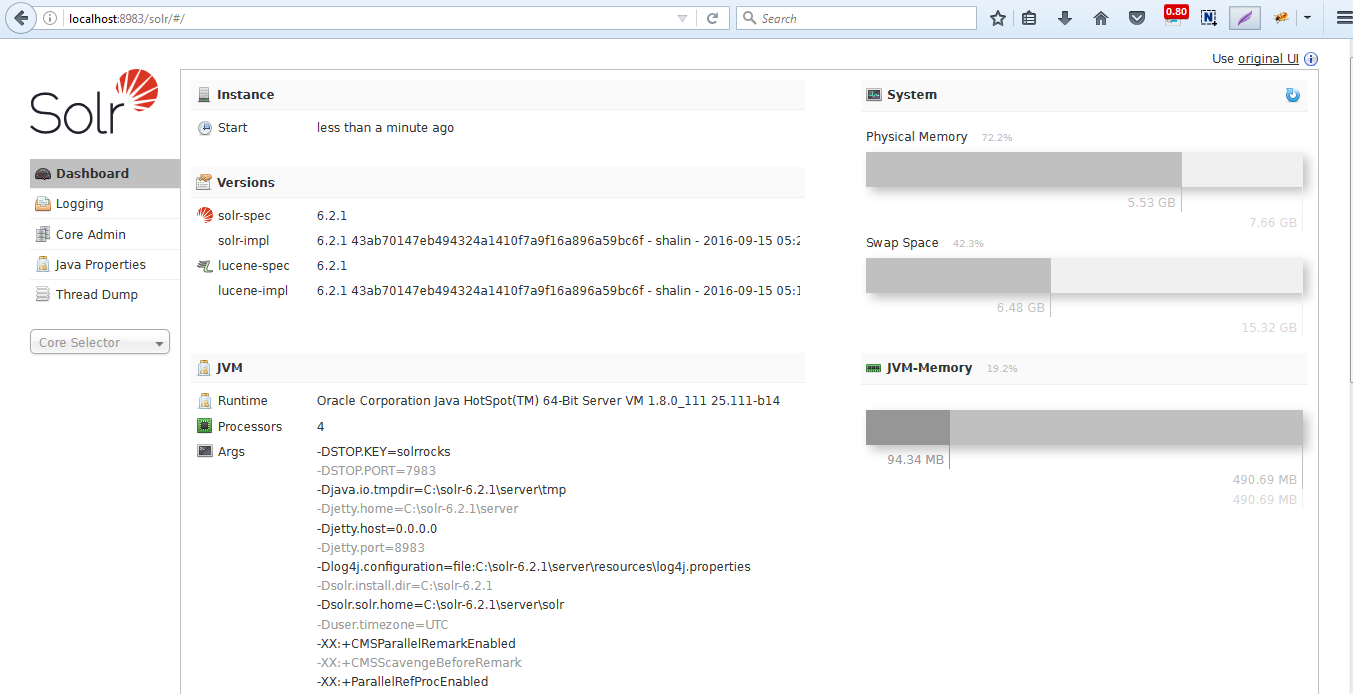
Step 1: Open Solr Admin
Go to Solr Admin URL, eg. http://localhost:8983/solr
Step 2: Selecting Solr Core to be used with your nopCommerce Store integration
Decide Core you’ll be using for your application. You can either create new Core or use default Core created during installation.
Hint: A Core, also referred as Apache Solr Core, is a running instance of a Solr index along with all of its configuration (SolrConfigXml, SchemaXml, etc…). A single Solr application can contain 0 or more cores which are run largely in isolation but can communicate with each other if necessary via the CoreContainer.
If you’re using the default Core created during installation, then skip Step 3.
We’re are creating a new solr core named as “newcore” to illustrate the steps involved in creating new solr core. You can name it whatever you like.
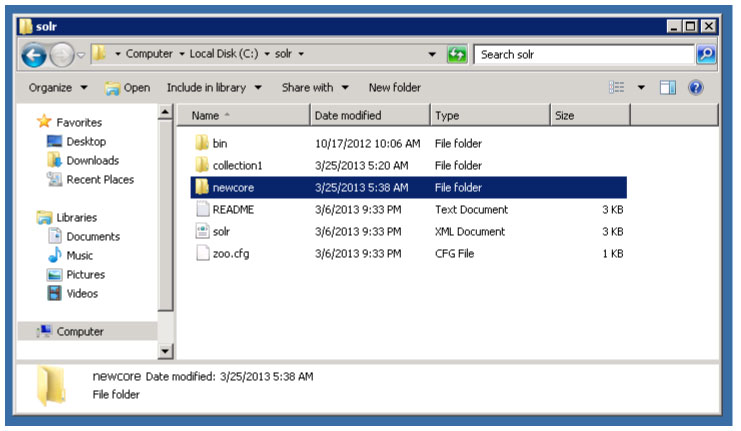
Step 3: Prepare Apache Solr Core Folder
Suppose, you’re creating new Core, then you need to first prepare the Core folder with its configuration files.
The easiest way is to copy the “C:\solr\collection1” and paste it as “newcore” at same location. So it will be available as “C:\solr\newcore“.
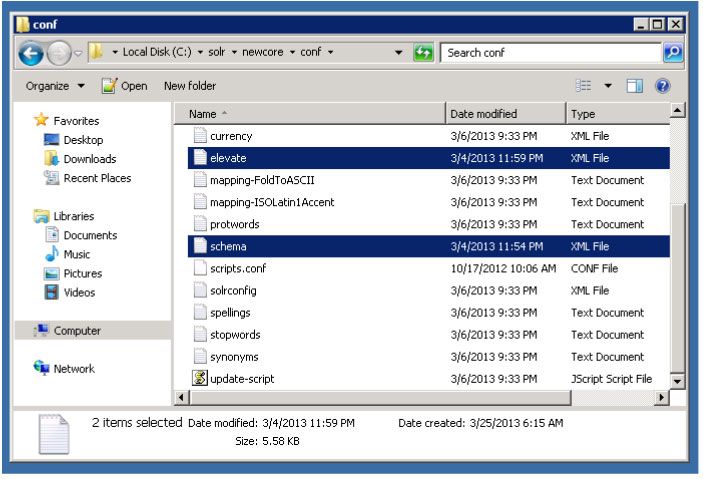
Step 4: Copy & Replace Solr Config files for nopCommerce Integration
Now, copy schema.xml, solrconfig.xml & elevate.txt file provided with nopAccelerate Plugin to replace existing file at C:\solr\newcore\conf\
Note: If you’re using the default core, then replace the file in C:\solr\collection1\conf\
Step 5: Adding new Apache Solr Core
Add new Core into Apache Solr Admin. Go to Solr Admin URL, and then click on Core Admin. Once you’re into Core Admin, you’ll see a “Add Core” button at the top. Click on Add Core.
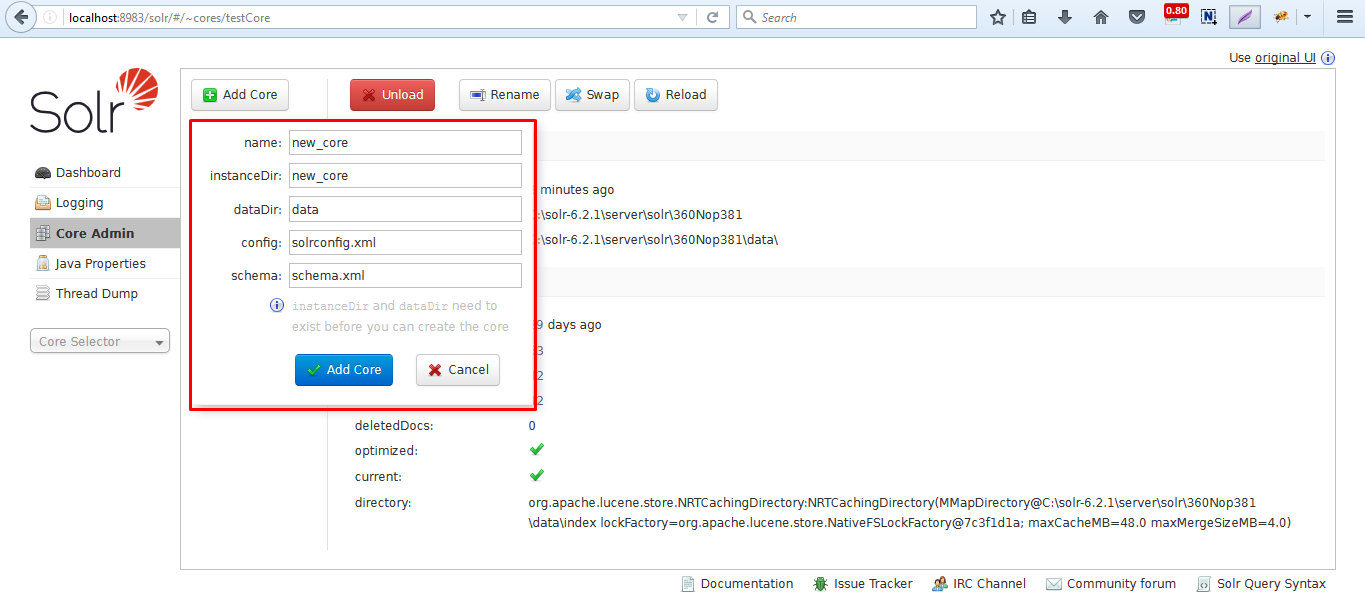
Provide the details of the new core you’ve just created.
All the fields are self explanatory.
Remember that you need to give full URL in instanceDir & dataDir field. And it must be present before you Add Core here. Also provide the name of config & schema file to proceed.
And click on “Add Core“. Once finished, you’ll see your newly created core added to the Solr.
If you got an error creating SolrCore ‘newcore’: Could not create a new core in c:\solr\newcore\as another core is already defined there.
To solve this error you just have to add following code within solr tag in your solr.xml file located at c:\solr\
<solr>

  <core schema="schema.xml" instanceDir="C:\Solr\newcore\" name="newcore" config="solrconfig.xml" dataDir="C:\Solr\newcore\data"/>

</solr>

Your Solr Core is now ready to be used with nopAccelerate.
← Back to Installing Apache Solr
Proceed with next step to Installing nopAccelerate Solr Plugins→
Need more help?
- Ask your question in the Forums (free with your plugin purchase)
- Go back to Documentation
Latest Posts


Our Products
Support
Latest Blog Posts
Contact Info